
About me
Hi, I am Luca, I have been on work experience for the past week at this amazing CAD office. I have been working with my superiors Emma, Lee and Paul. This week has been incredible! I have been introduced to a variety of new software’s which have increased my knowledge on CAD immensely. Along with the help of Emma, I have been able to develop a range of new skills. I have been successful in completing my tasks with the ability to learn and adapt. Using CAD I have made a series of products such as a key chain, plant pot, skeleton, car and a miniature cookie heart cutter. These were all physically produced by the 3D printer which was fantastic. I was able to hold my creations in my palms and admire my creations in depth.
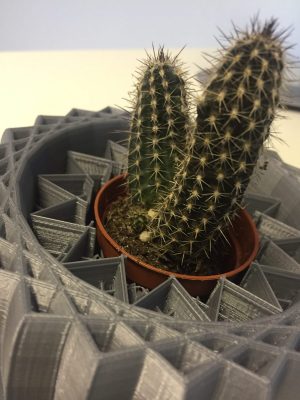
My 3D Printed Plant Pot 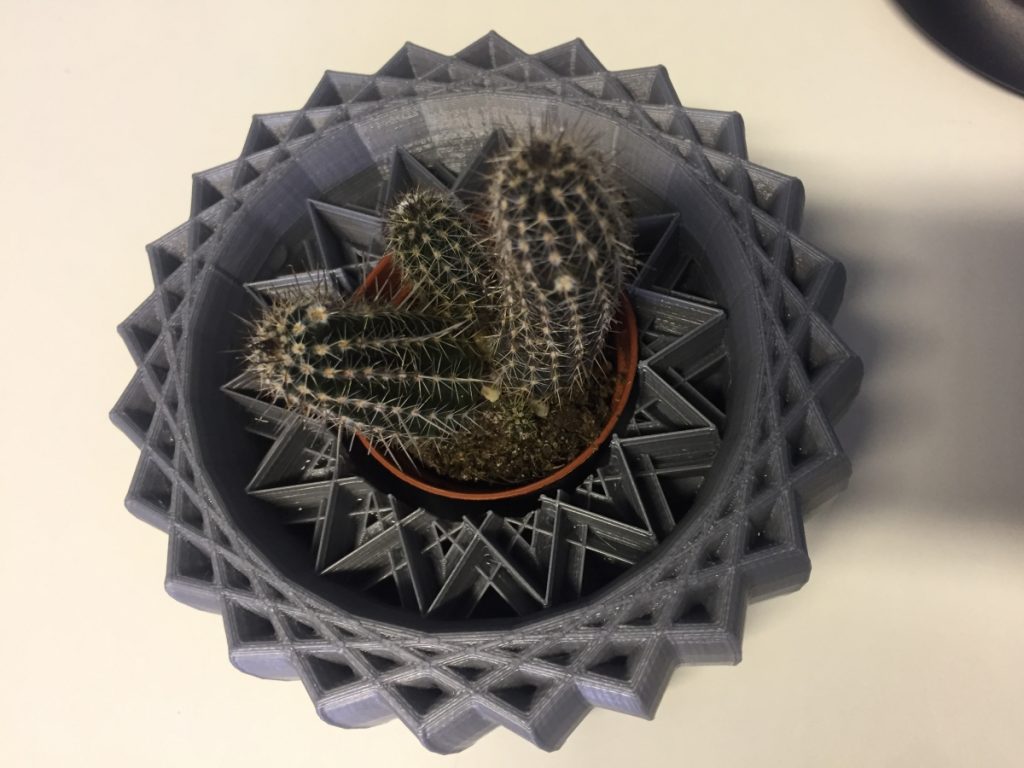
Finished 3D Printed Plant Pot 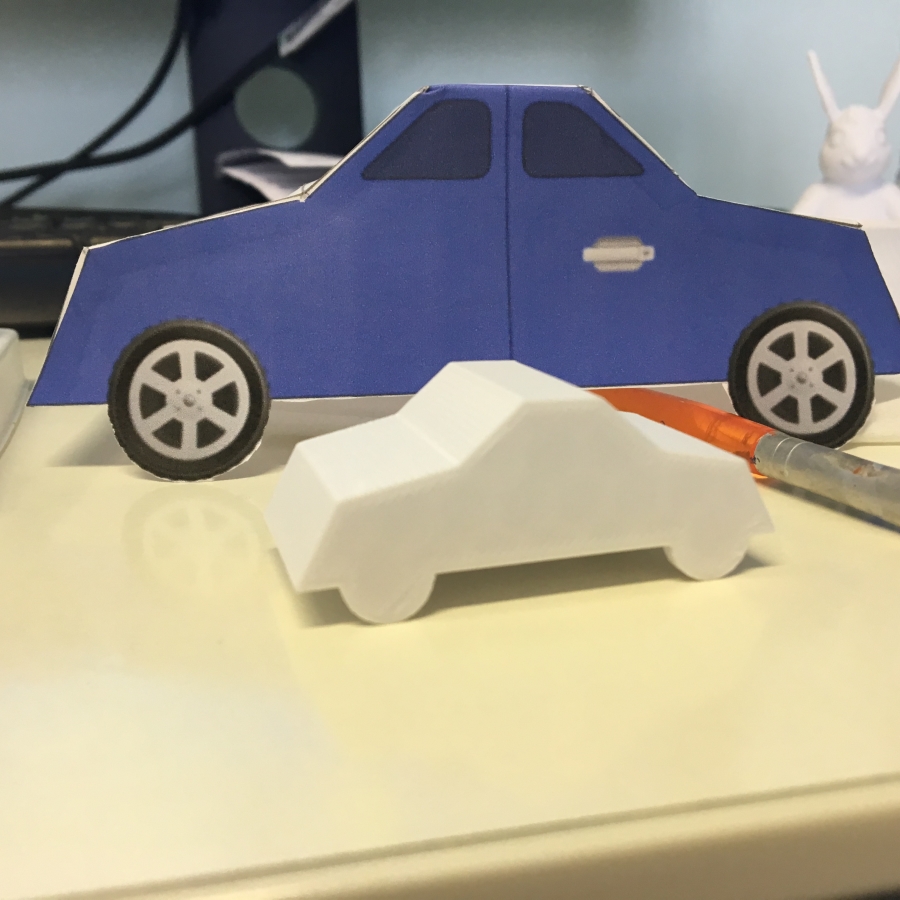
3D Printed Car and Purple Mash Net 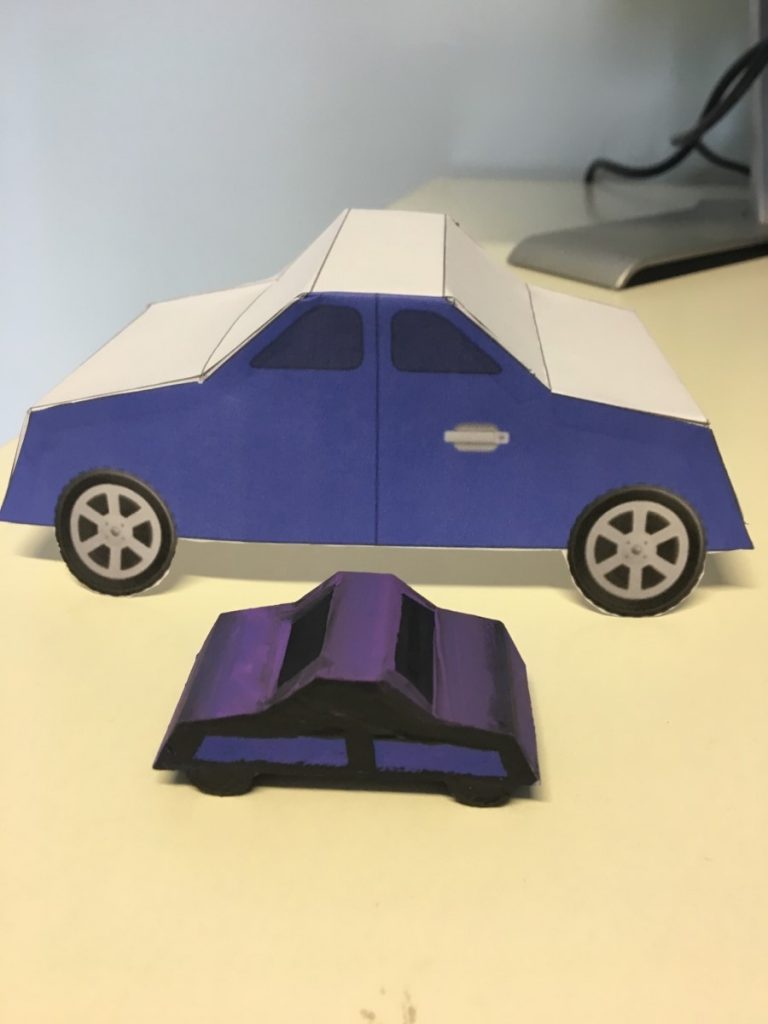
Painted 3D Printed Car 
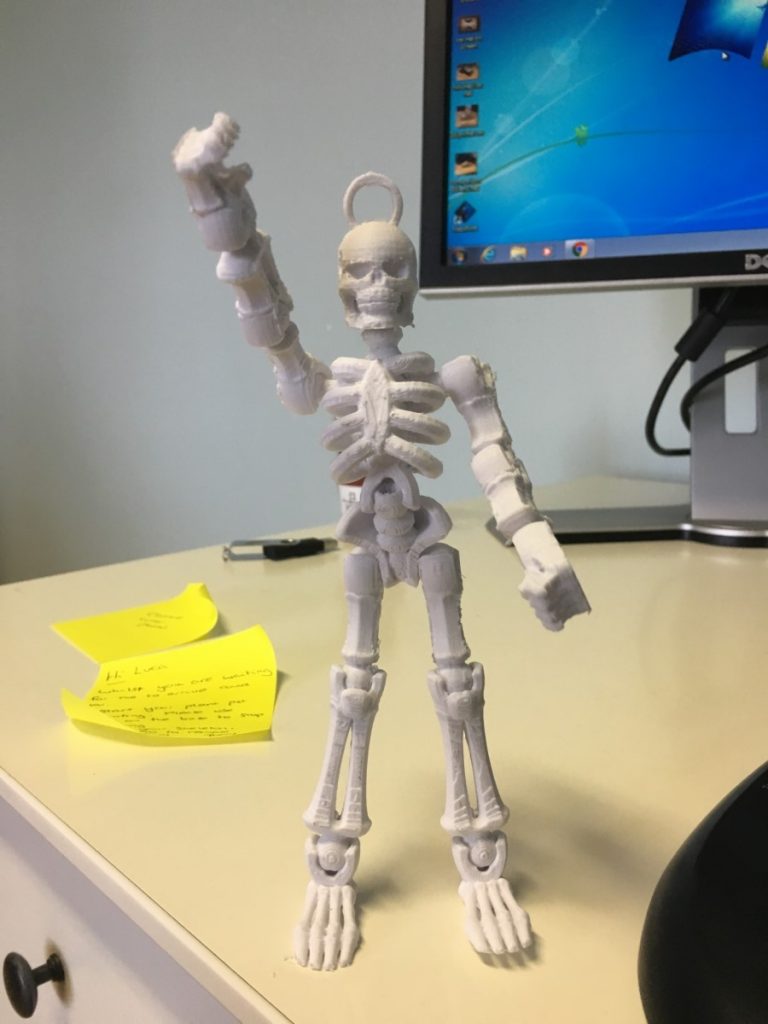
Skeleton On FlashPrint 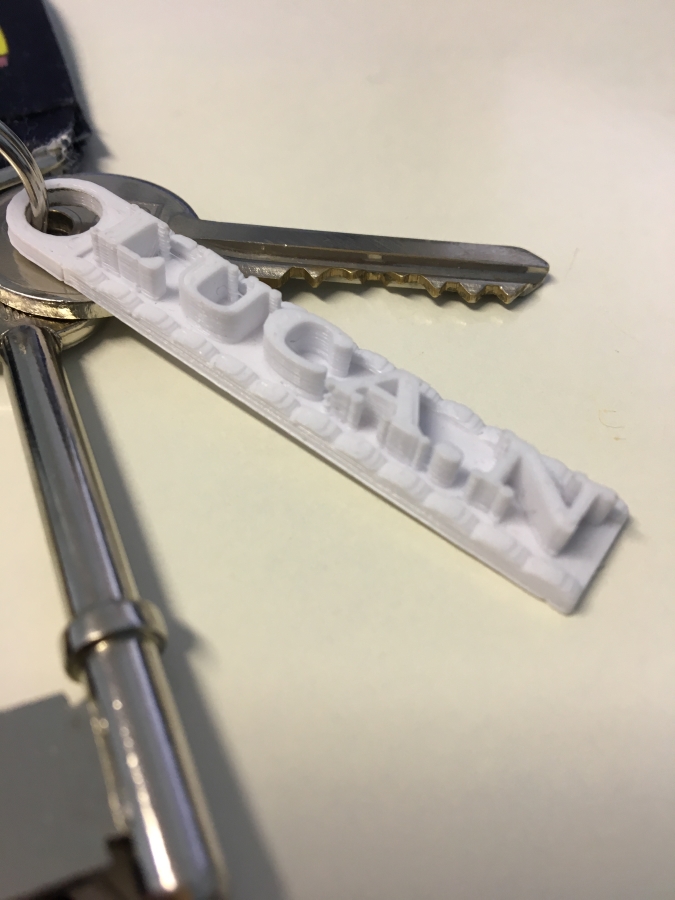
3D Printed Key Ring 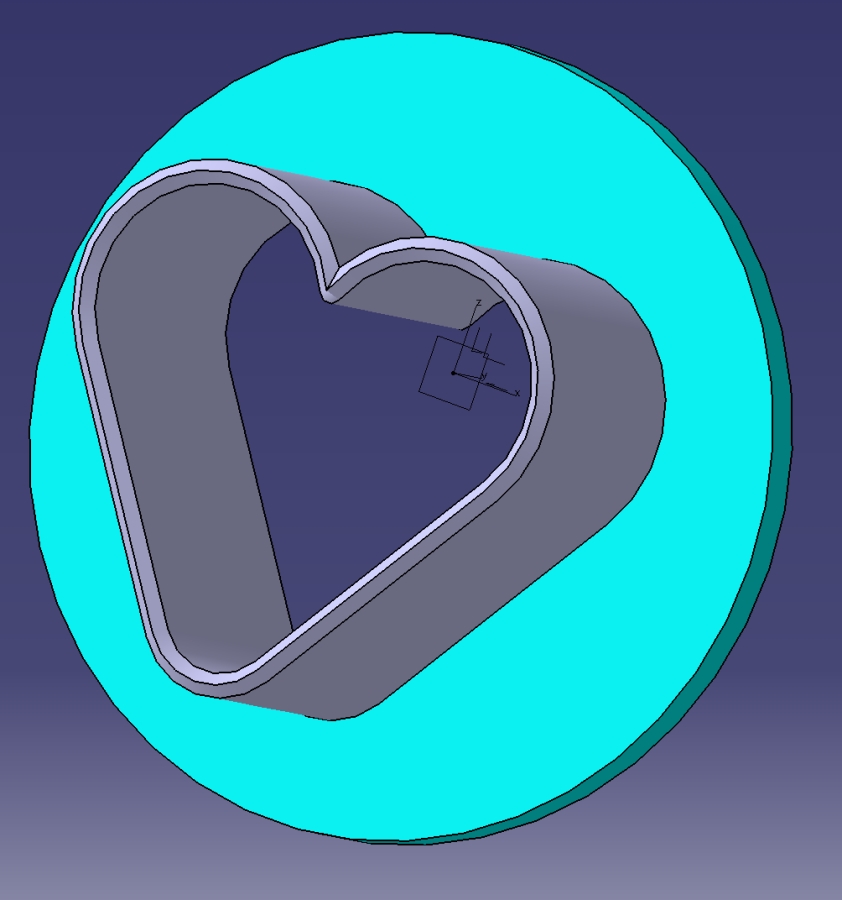
Cookie Heart Cutter On CAD 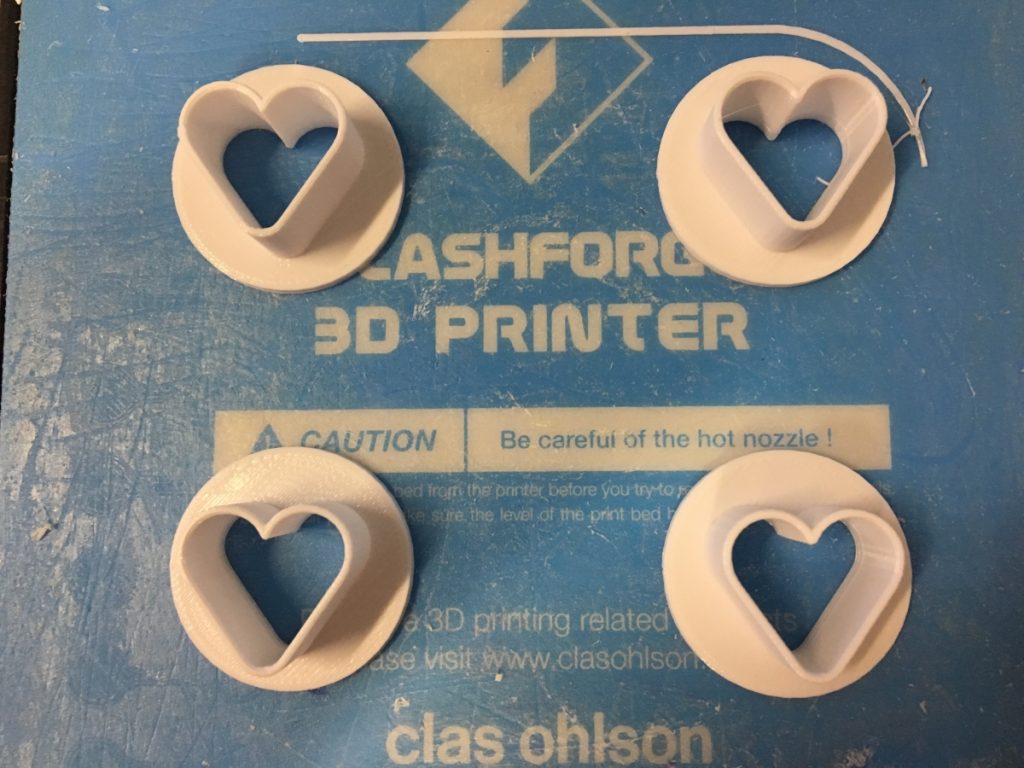
3D Printed Miniature Cookie Heart Cutters 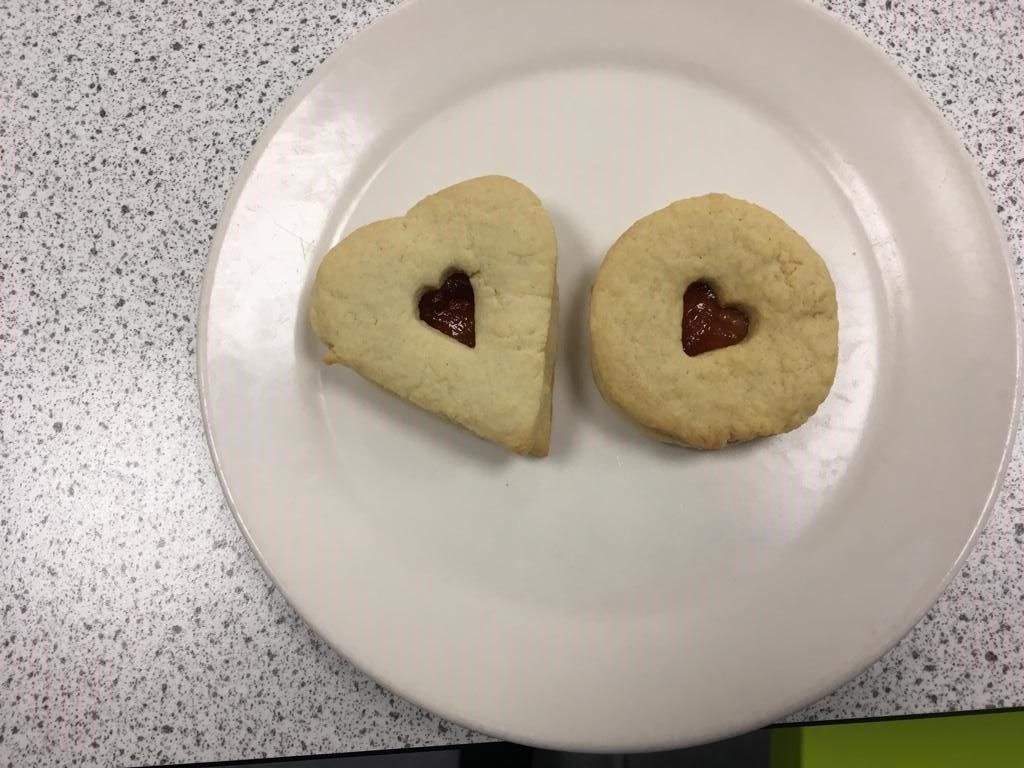
My 3D Printed Cookie Heart Cutter In Use 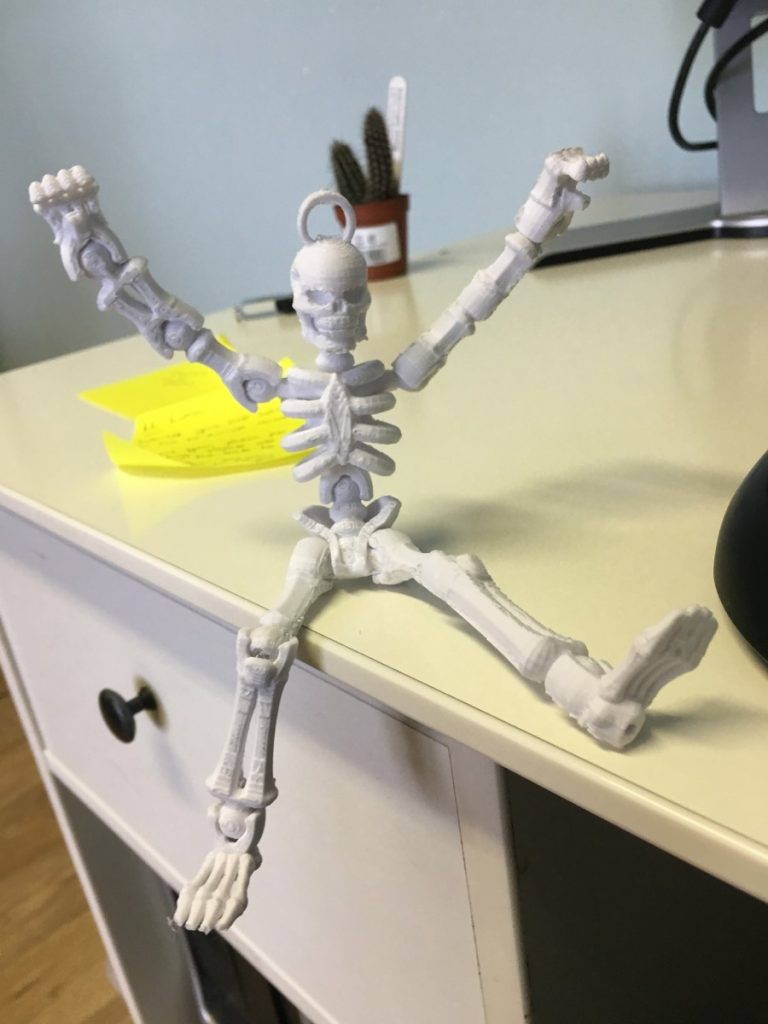
My last project brief
Finally the most important project brief of the week was the plant pot. It incorporated very specific measurements, an intriguing design, and a very specific important use. Its use is to hold a plant pot with a cactus with a 6mm diameter and a 5.5mm height. The cactus should be able to flourish but not the pot. It had to be able to be successfully filled with water without leaking, and it had to be imaginative.
The specifics
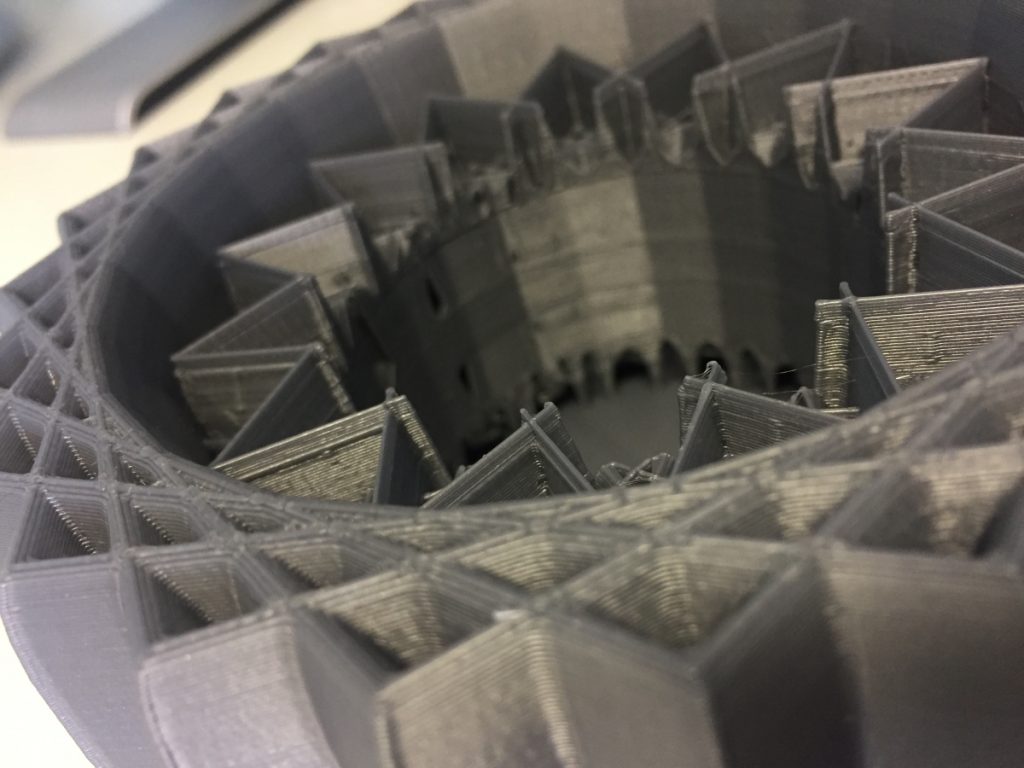
In my opinion TinkerCAD is the most simple and comprehensible CAD software that I have used. A good reason to why I used it to create my virtual plant pot. Shapes wise I chose a cog ring and a mandala. Two very geometrical and sharp shapes, lots of edges and inner shapes. This is what made it aesthetically quite modern as both combined, or grouped as TinkerCAD describes it, creates a new shape with a complex and unique look.
However, there was no place to fit the plant pot so I had to use a cylinder to make a hole in it. Along with the precise measurements of a 6mm diameter and 5.5mm height. I used a circle for the base in order to prevent any leakage as the cylinder made a hole through the whole object. Once everything was rightly measured and all grouped together as a whole, I was then able to export it onto my flash drive. This then meant I was able to plug that flash drive into the 3D printer and print out my finished plant pot.
The details
In summary, 74 metres of filament was used to successfully print out my plant pot, it looked quite incredible. It looked different. I didn’t want it to look like anything else besides out of the ordinary, being different means it is unique. The actual plant pot fit perfect into mine with 1.5mm of outer space around it and the cactus is able to flourish out of it and absorb sunlight without a hassle.
However, it wasn’t fully successful as once I poured water into my plant pot I realised it started leaking. Sadly, there was a gap in the outer rims of the circle so it wasn’t fully covering the bottom of the pot. So for now it is just used to hold the cactus but it is unable to hold water, all though Emma said she is able to bring silicone which can seal this gap meaning that the plant pot will soon be able to fulfill its use.
I also fixed the model so that the next print of the pot will not leak!
If you would like to print the pot then check it out on PT Design’s Thingiverse Account!
But for the time being I created a montage of my finished product including a time lapse of the printing, and pictures of the cactus in the pot and without the cactus in it. This was then posted on twitter which I was very happy about and I felt very pleased to know other people would see my montage and be able to see what I was able to create.
The outcome
This entire brief was an amazing challenge and experience, I enjoyed every bit of it. All these amazing skills I have obtained have opened so many possibilities for now and the future. It has really helped me realise what I am capable of doing on a computer and has introduced a path I wouldn’t mind following in the future.
Tags: 3d printing, CAD